BrainLeaf is a Scope of Work or Statement of Work (SOW) building system. This system was built to help people building complicated SOW documents build them faster and easier. Our approach to the SOW build process focuses on the ability to rapidly develop documents either in a standalone system or by pulling from old documents or saved templates. The different pieces of this documentation can be easily broken apart and saved individually or as a whole for use later. We are here to save you time, improve your consistency, improve your estimates, and ensure both you and your clients are held accountable to what they agreed to. Throughout this process we strive to give you the information you need to make your decision making process as easy and solid as possible.
Who uses BrainLeaf?
- Anyone building larger, complex scope documents to be approved by clients or stakeholders.
- Sales people or teams that need to deliver accurate, but complex, estimates to clients.
- Project managers that want to ensure teams and clients are held accountable.
- Information Architects planning web, app, and software projects.
Why Use BrainLeaf?
- Ensure your team and your clients or stakeholders understand what is being done, how long it will take, and how much it will cost, and put that information together quickly.
- Ensure profitability by estimating projects properly and getting team approvals before delivering quotes to your client or stakeholders.
- Show value by thoroughly documenting what will be done.
- Streamline the sales process for complex systems.
- Rapidly produce complex SOW documents.
- Add consistency to build processes by ensuring the documentation is consistent.
- Save time.
Getting Started:
Here is an overview of what we will be covering in this article:
- Setting Up Your Account
- Creating a New Project
- Use a Template
- Review Scope Tools
- Getting Client Approval
Setting Up Your Account
When you sign into BrainLeaf for the first time, you will be asked to verify your email address, then you can log in and we’ll ask for the name of your business or organization. In BrainLeaf, this is known as a ‘Place’. From there, you can just start using the system.
Once you log in, you can either set up your tasks, people, contracts, clients, team, etc. or just start your first scope document. This document takes you through jumping right into building your scope.
If you haven’t created an account yet, you can start one by going here.
Start A New Project
Speed is of the essence when building out scope documents, so we have made the BrainLeaf system as fast as possible and as easy as possible to use.
Starting a new project is very easy, just follow these steps:
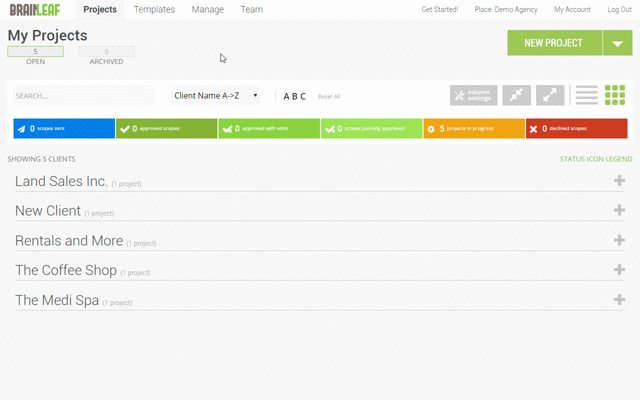
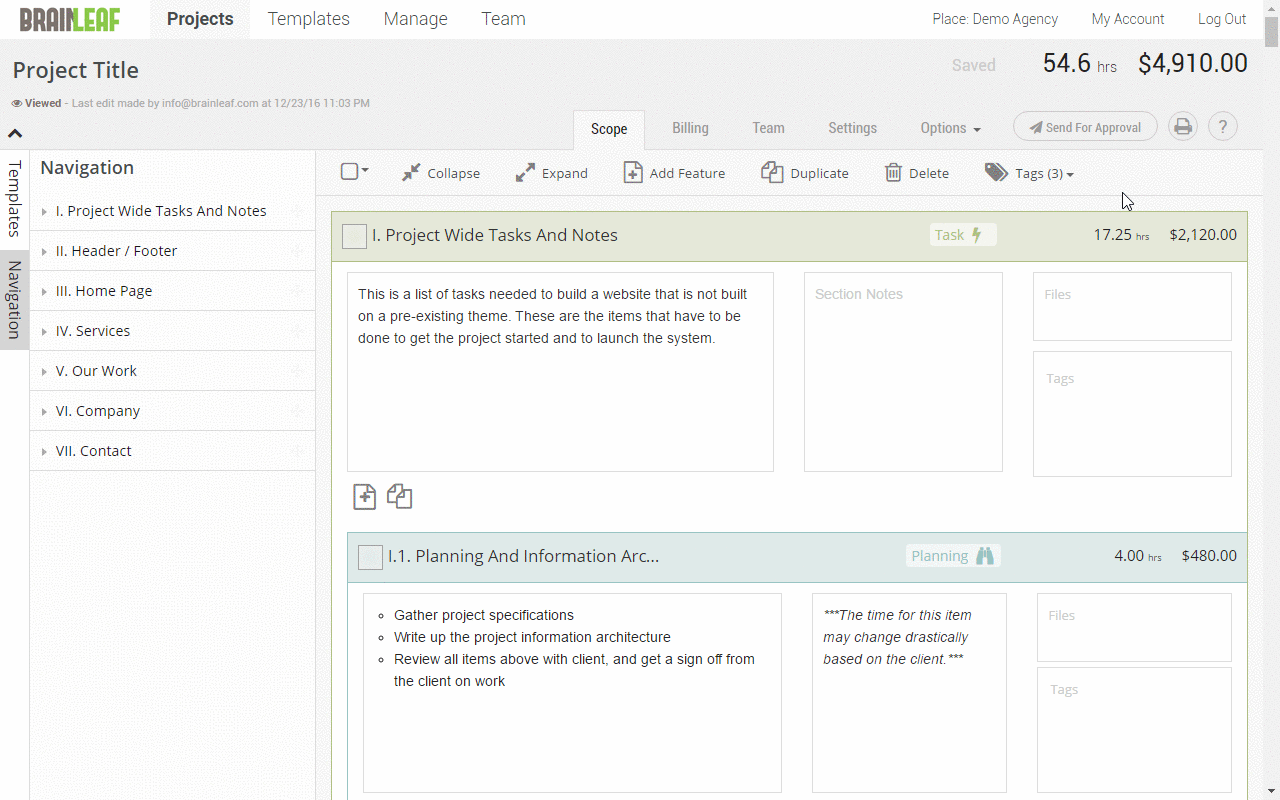
- Navigate to the My Projects page. This is the first page you arrive on when you log into BrainLeaf.
- Click on the ‘New Project’ button at the top right of the page:

- Fill out the new project form:
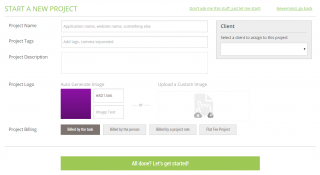
- Click the “All Done? Let’s Get Started!” button at the bottom of the form!

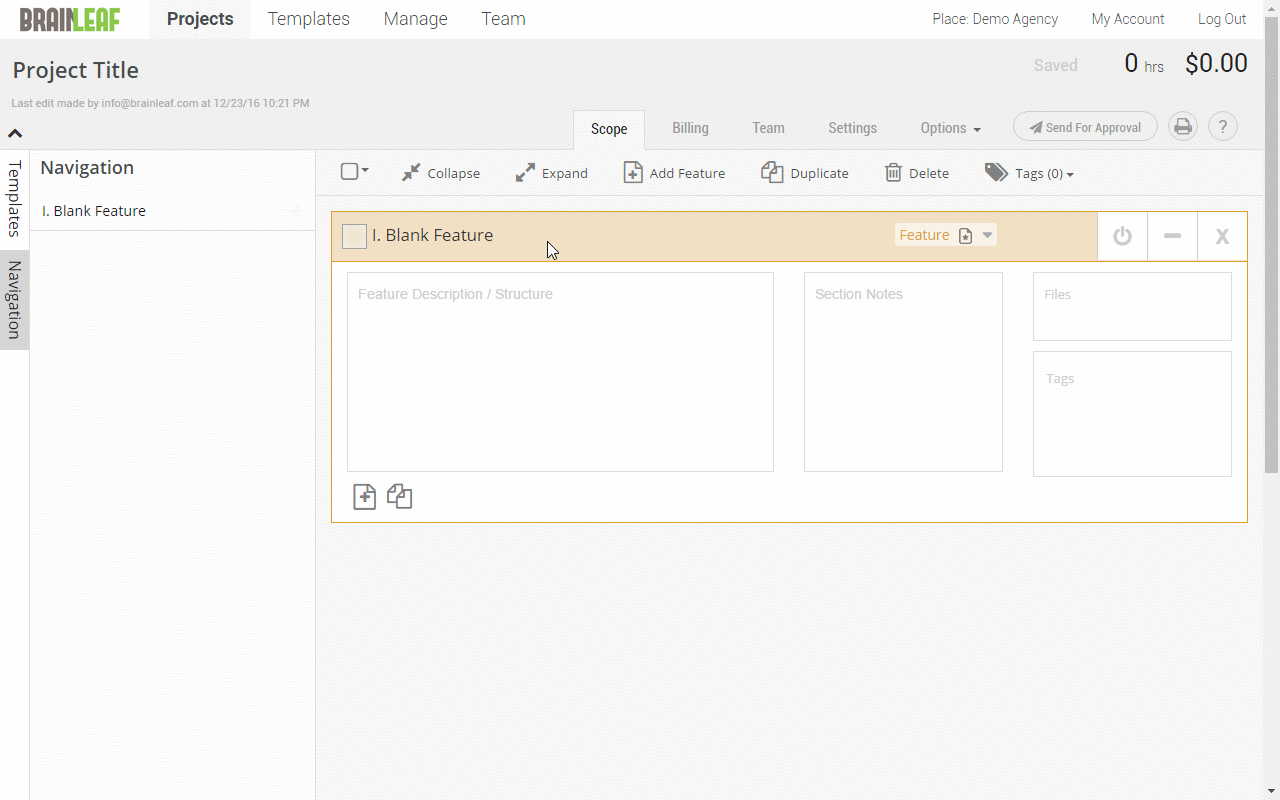
Add a New Scope Card
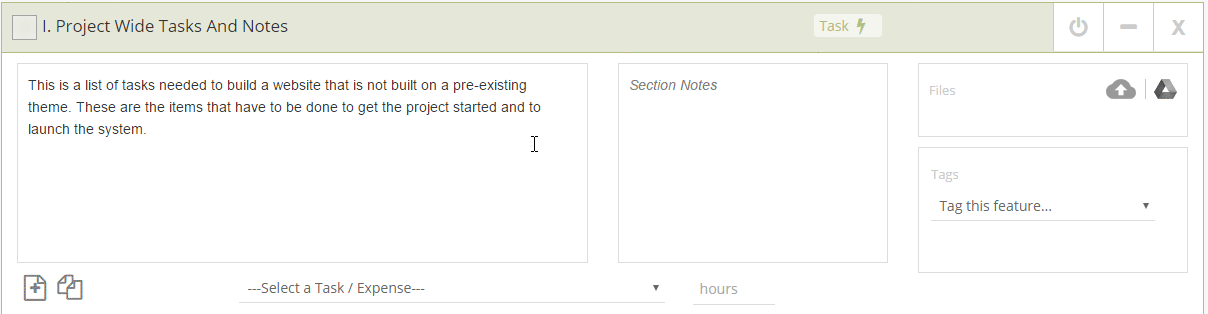
A scope card can be any kind of item in a SOW. These are things like features, page elements, stories, issues, pages, sections, processes, and anything else you would like to define them as. Very often these are used in development as information architecture elements such as pages, buttons, text, lists, modals, etc.
To add a new scope card, click on either the Add Feature button on the left or on the top of the page.
Use a Template
The power of BrainLeaf is in the use of templates to scope work. To use a template follow the process below:
- Click on the templates navigation item on the far left side of the page.
- Select the template you wish to use from the menu.
- Roll your mouse over the up-down-left-right icon to the right of the title of the template.
- While your mouse is hovered over this icon drag and drop the navigation item from the templates column onto the navigation column in the area you would like it placed.
- The template will then load into that area.
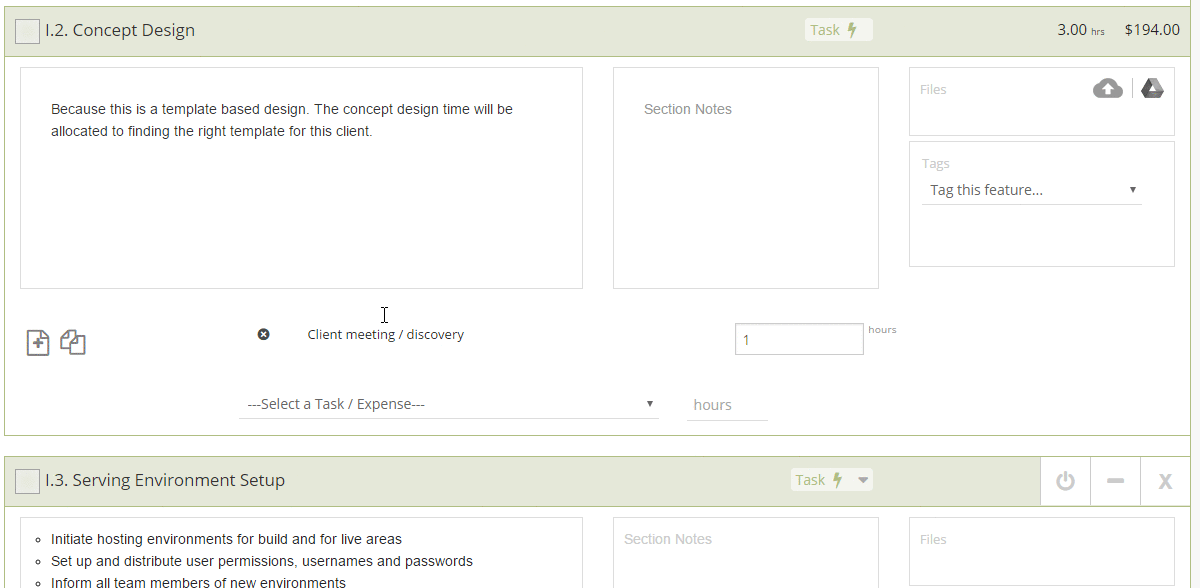
Scope Tools
![]()
![]()
Scope tools include:
- Select all / Select None button
- Collapse Features
- Expand Features
- Add Feature
- Duplicate Feature
- Delete
- Tags & Tagging
- Send For Approval
Editing Scope Cards
In addition to editing the scope document with these tools, you can also edit items on the card. The editable items include the:
- Title
- Description
- Notes
- Tags
- Images & Files
- Times / Hours
- Expenses
You can also minimize, maximize, disable, and delete each card using the menu at the top right of each item. You must roll over the item in order to see this menu.
Get Client Approval
Once you have completed your scope of work and are ready to deliver your scope document to your client for review, you can either print the scope document and send it via email to your client or stakeholders, or send for approval using the send for approval system.
Printing The Scope Document
Simply click the print button ![]() at the top right of the page and a modal will show that allows you to edit the layout and options for the print out. You can print to PDF, Word, or Google Docs. However, each method of printing as a different format. PDF is the prettiest and most recommended and Google Docs is the most bare as this system does not allow for much of the content viewing features of the PDFs and Word Documents.
at the top right of the page and a modal will show that allows you to edit the layout and options for the print out. You can print to PDF, Word, or Google Docs. However, each method of printing as a different format. PDF is the prettiest and most recommended and Google Docs is the most bare as this system does not allow for much of the content viewing features of the PDFs and Word Documents.
The printout will be emailed to you when it is ready.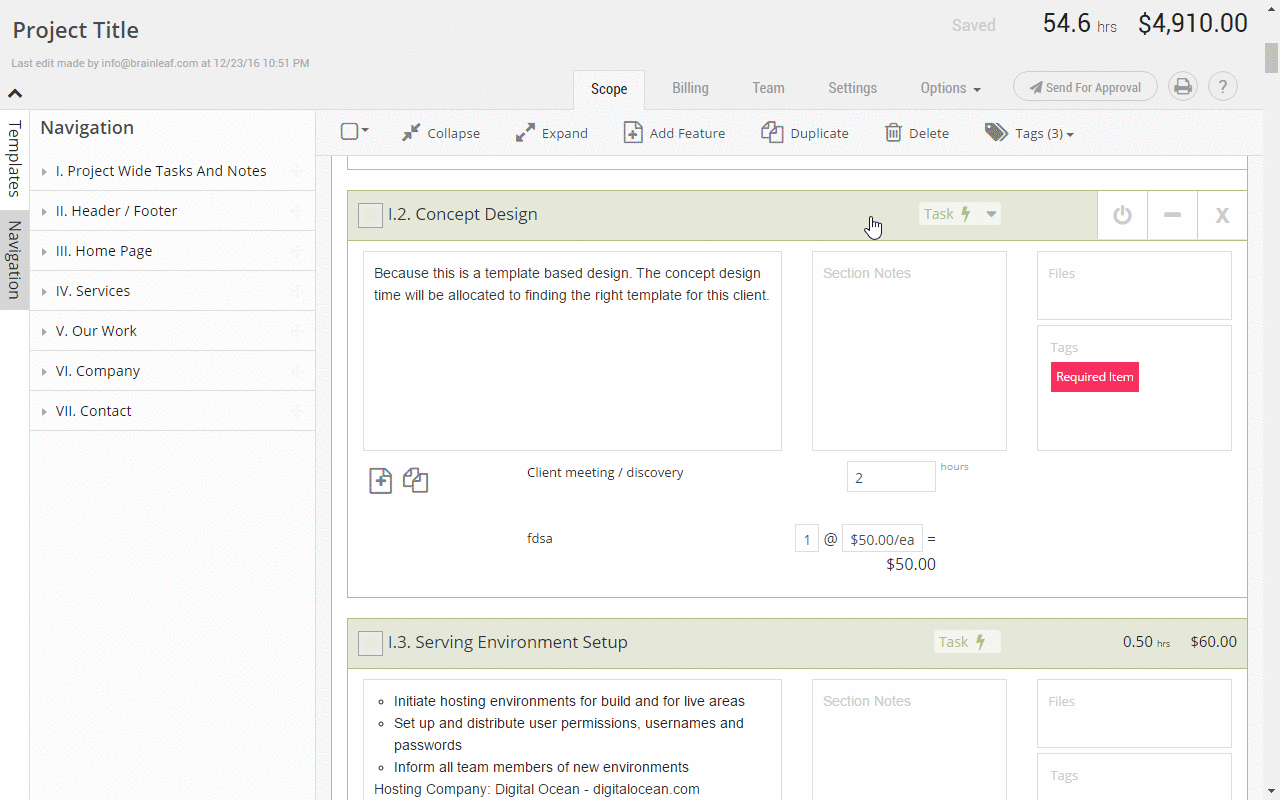
—- See the Example Project File Here —-
Send Scope For Client Approval Using Scope Approval Process
Once the document is ready to be sent to the client for approval, follow these steps to get a digital sign-off on the project:
- Click the ‘Send for Approval” button at the top right of the page.
- Add or select the contacts you want your scope to be sent to for approval.
- Select the contract you wish to use for this project.
- Select any special abilities you want your clients to have when viewing the document.
- Preview or send the document to your clients when you are ready.
Once the client views the project and approves it, both you, anyone else the contract was sent to, and the client who signed off on the contract will receive an email with a confirmation, copy of the contract, and a PDF of the scope document for reference.
If they make any changes to the scope of work as you progress through the project, just be sure to adjust times and costs in this system and send them notifications of changes at every step, and you will always be on target and profitable!
Next Steps
When you’re familiar with the basic steps, features, and processes, let’s take a look at some of the more advanced tools in the system:
- Different ways of billing projects
- Signing off on a project for a client
- Adjusting team member permissions
- Integrating BrainLeaf into your company’s workflow
Leave A Comment?