Exporting To Asana
Once you have a project planned and approved by your clients or stakeholders, you still have to do the job. To expedite your process of moving your scope or statement of work into production, BrainLeaf enables you to automatically export to multiple systems including JIRA and Asana, but also directly to CSV so you can import into your own project management tools.
Exporting into Asana:
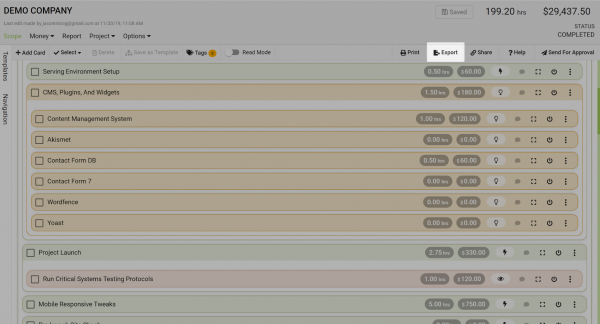
Start by clicking on the ‘Export’ button in the toolbar.
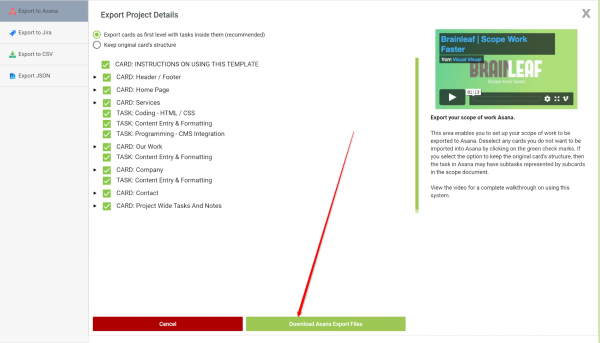
This will pull up the export features for BrainLeaf. From here, click on the ‘Asana’ button on the left side of the page:

There are several options for exporting, but the easiest, fastest, and most recommended way is to keep the default settings and just click the green ‘Download Asana Export Files’ button at the bottom of the page.
The file that is downloaded after clicking the ‘Download Asana Export Files’ button is imported into Asana with the following process:
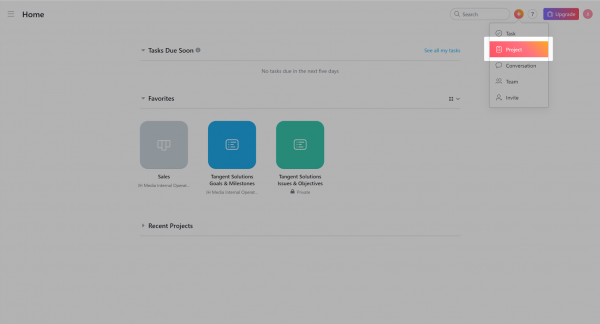
Step 1: Start a new project in Asana by clicking the “+” at the top right of the page, then selecting “Project”:
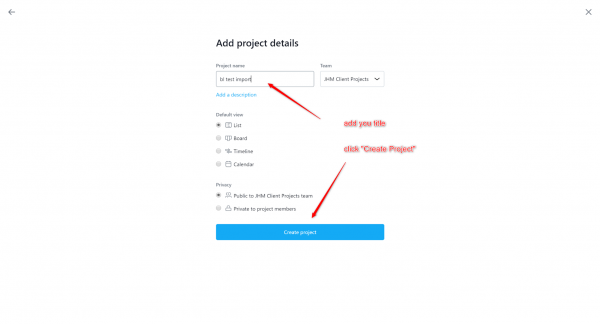
Step 2: Make sure to create a blank project
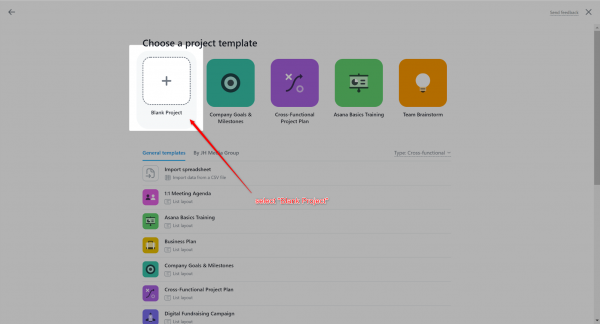
Next, enter your project title and start the project.
Step 3: Click the small down arrow beside the project name in the project and select ‘Import’ and then click ‘CSV’.

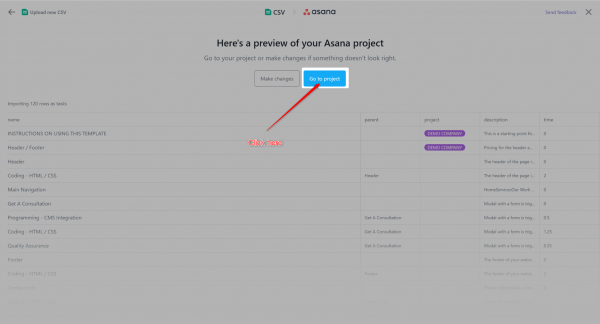
Step 4: Select the downloaded CSV file and then click “Go To Project”
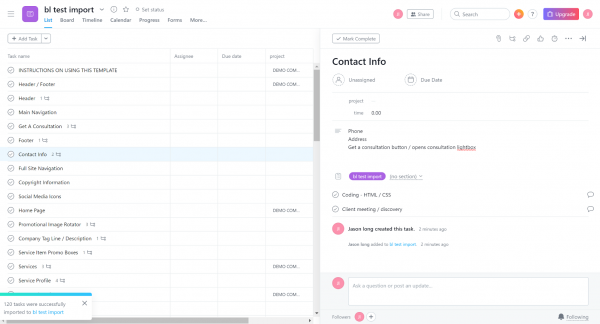
Step 5: Get assign your team members and get to work!
Leave A Comment?