On the ‘My Projects’ page, projects are sorted, by default, by client. Each client, to the right, shows the number of projects you have listed under them.

Select the client you need to see projects for, and the projects will be shown beneath the client name. And the projects actually show two levels of information, as you can see in the below screenshot.
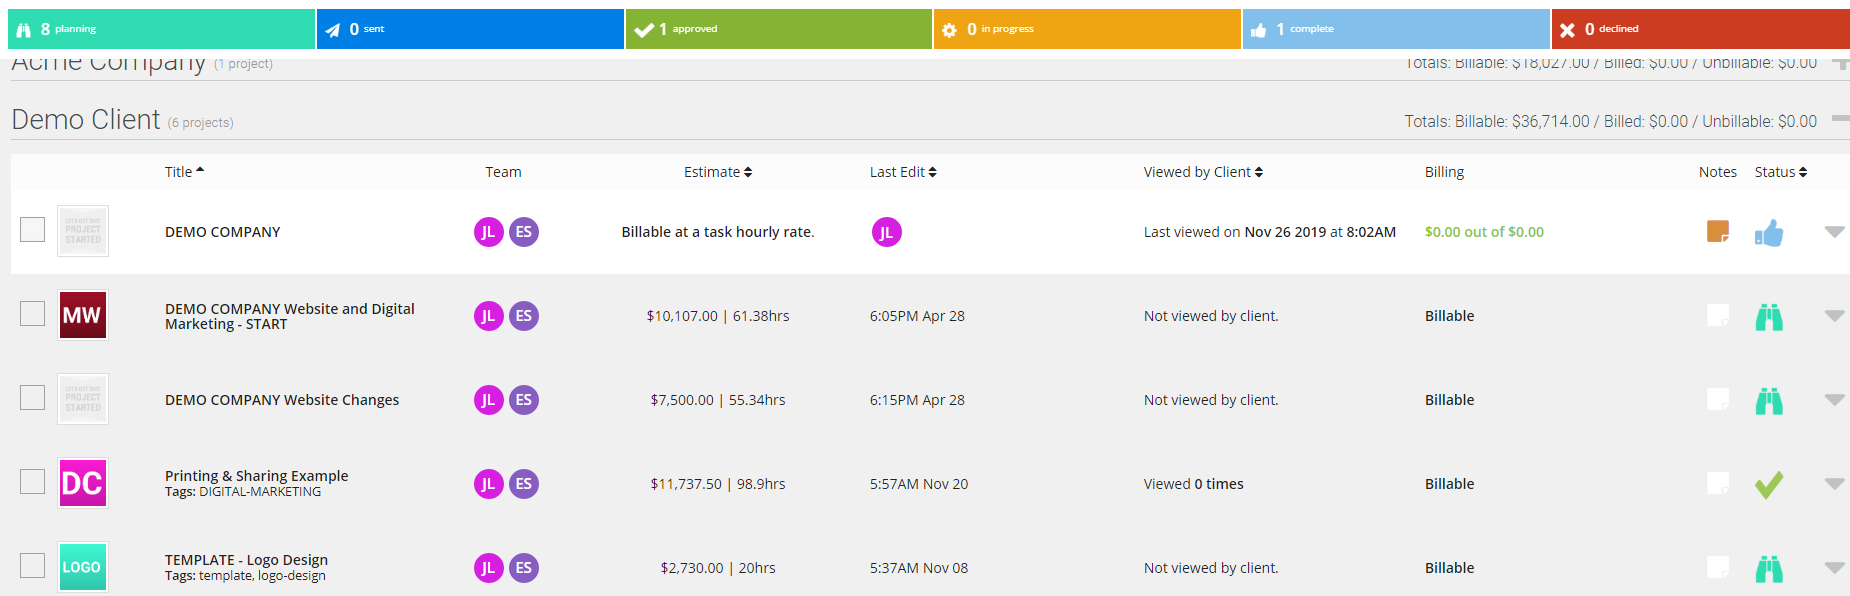
Here, we have the “Demo Company” project highlighted. The logo, title of the project, and team assigned remains the same. However, when highlighted, the information under the Estimate, Last Edit, Viewed by Client, and Billing columns all change:
- Estimate changes from showing dollar and time estimates to showing how the project is billed.
- The ‘Last Edit’ column originally shows when the edit was made, but when the cursor scrolls over it, it shows who made that edit.
- The “Viewed By Client” column will tell you how many times the client has reviewed the document, as well as when they last reviewed it.
- “Billing” starts by letting you know whether the project has reached a billable milestone, and then changes to show how much of the project has been billed.
Then, on the right, there are columns for Notes and Status. The Notes column contains a gray sticky note icon which turns yellow when notes are left there. Simply click the icon, and a pop-up will prompt you to enter whatever notes you like.
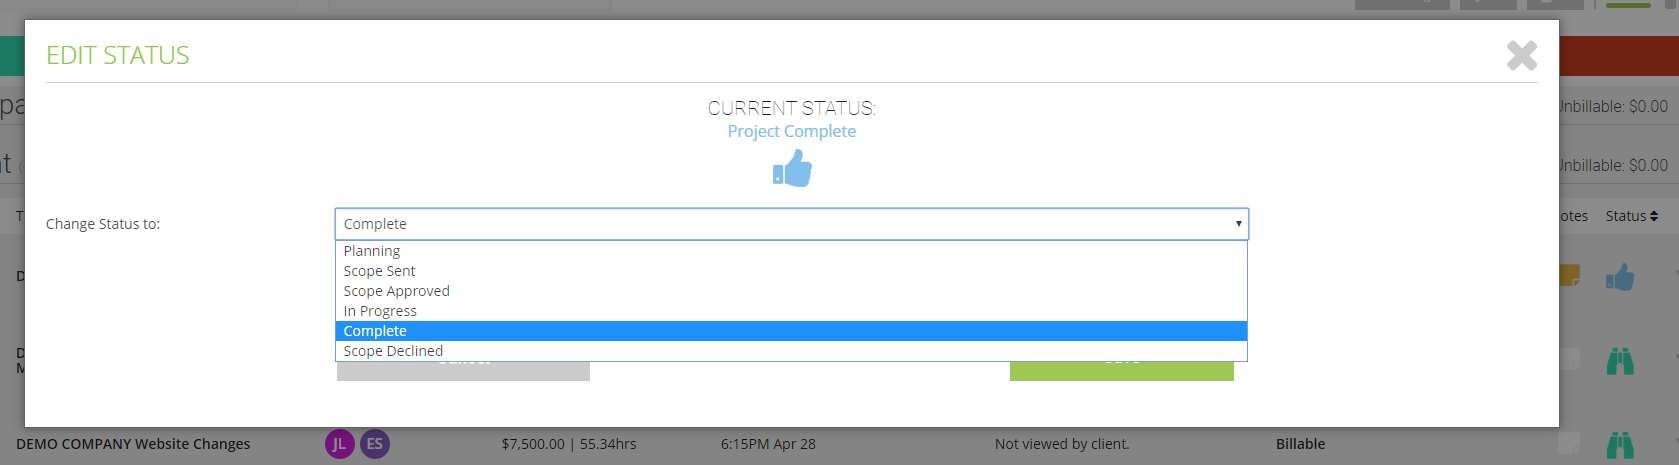
Lastly, the status icon is a quick way to flag the project’s overall state, and contains half-a-dozen options, from “planning” to “complete”.
These statuses are also filterable. Simply click the associated button on the colorful bar that runs across the top of the screen:

As you can see, each button also gives a count of the number of projects currently in each phase. These numbers update if you use the search function to limit the number of projects showing.
Leave A Comment?